
OCS Inventory, également connu sous le nom d’Open Computers and Software Inventory, est un outil puissant qui vous permet de gérer l’inventaire de vos actifs informatiques. Nous l’avons vu dans un précédent article, il est intéressant de le coupler avec GLPI. Pour que l’outil fonctionne correctement, un agent doit être installé sur chaque machine de votre réseau. Dans cet article, nous allons passer en revue les étapes nécessaires pour installer l’agent OCS Inventory sur un système Ubuntu.
Prérequis
- Une machine Ubuntu (Nous utilisons Ubuntu 23.10 pour cet exemple).
- Un accès administrateur à la machine.
- Une connexion à Internet pour télécharger les paquets nécessaires.
Étape 1 : Mise à jour du système
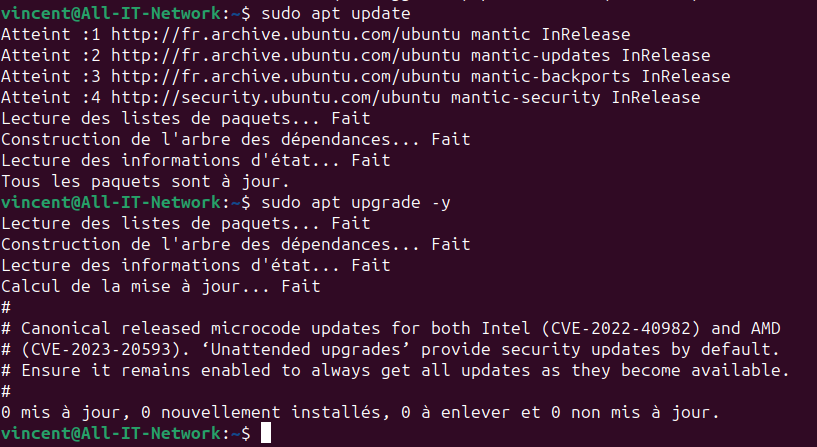
Avant d’installer l’agent, il est recommandé de mettre à jour votre système. Exécutez les commandes suivantes :
sudo apt update
sudo apt upgrade -y
Étape 2 : Installation des dépendances
L’agent OCS Inventory nécessite certaines dépendances pour fonctionner correctement. Installez-les en utilisant :
sudo apt install -y perl libxml-simple-perl libcompress-zlib-perl libdbi-perl libdbd-mysql-perl libapache-dbi-perl libnet-ip-perl libsoap-lite-perl libxml-libxml-perl make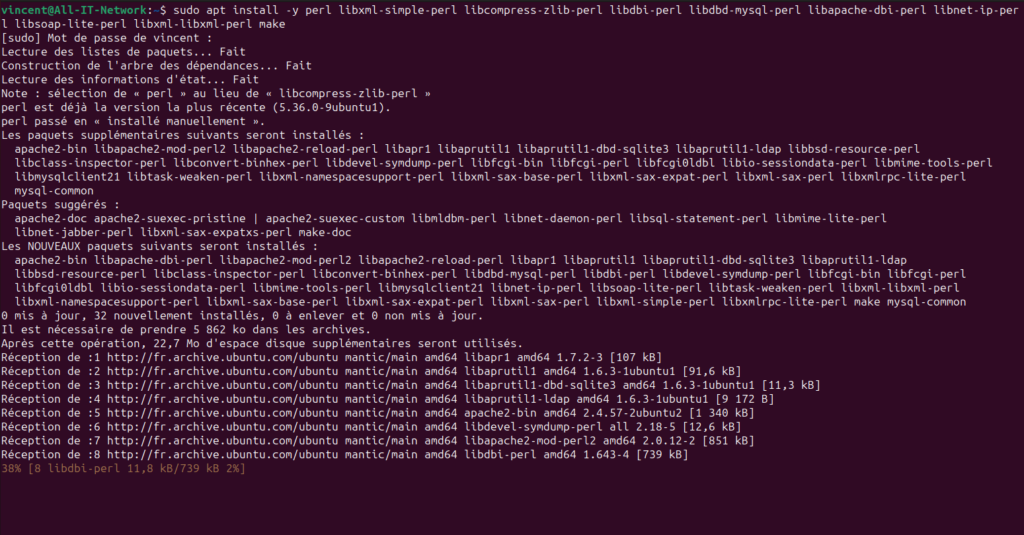
Étape 3 : Téléchargement et installation de l’agent OCS Inventory
Téléchargez le dernier paquet de l’agent depuis le site officiel ou le GitHub du projet. Pour cet exemple, j’utilise la version est 2.10.0 (prenez la dernière version).
wget https://github.com/OCSInventory-NG/UnixAgent/releases/download/v2.10.0/Ocsinventory-Unix-Agent-2.10.0.tar.gz

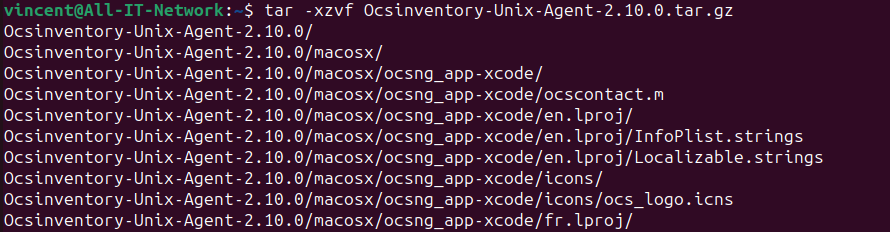
On extrait le contenu de l’archive :
tar -xzvf Ocsinventory-Unix-Agent-2.10.0.tar.gz
On accède ensuite au répertoire extrait via la commande:
cd Ocsinventory-Unix-Agent-2.10.0/

Avant de pouvoir exécuter l’installation, quelques prérequis nécessaires. Premièrement mettre la variable d’environnement de perl :
sudo env PERL_AUTOINSTALL=1 perl Makefile.PL

Ensuite on exécute le fichier Makefile.PL :
sudo perl Makefile.PL

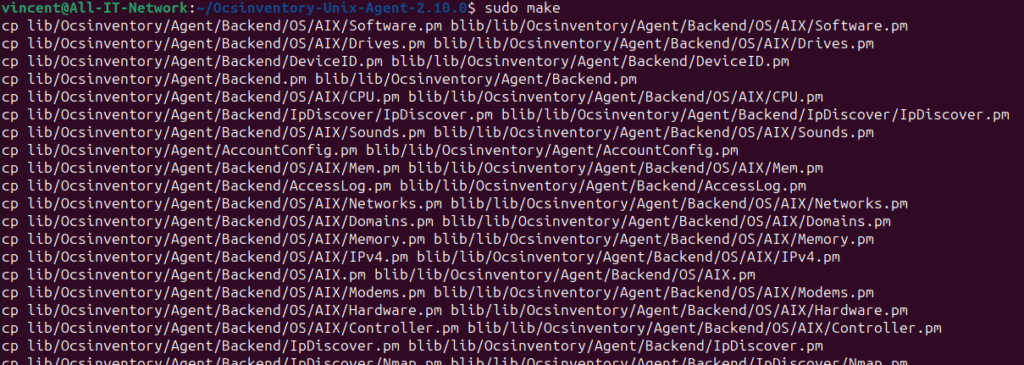
Via la commande « make », nous allons automatiser la compilation de OCS inventory (Lit les instructions depuis des fichiers appelés Makefiles, qui définissent comment construire (ou « build ») un programme à partir de son code source :
sudo make
Ensuite on lance l’installation avec la commande :
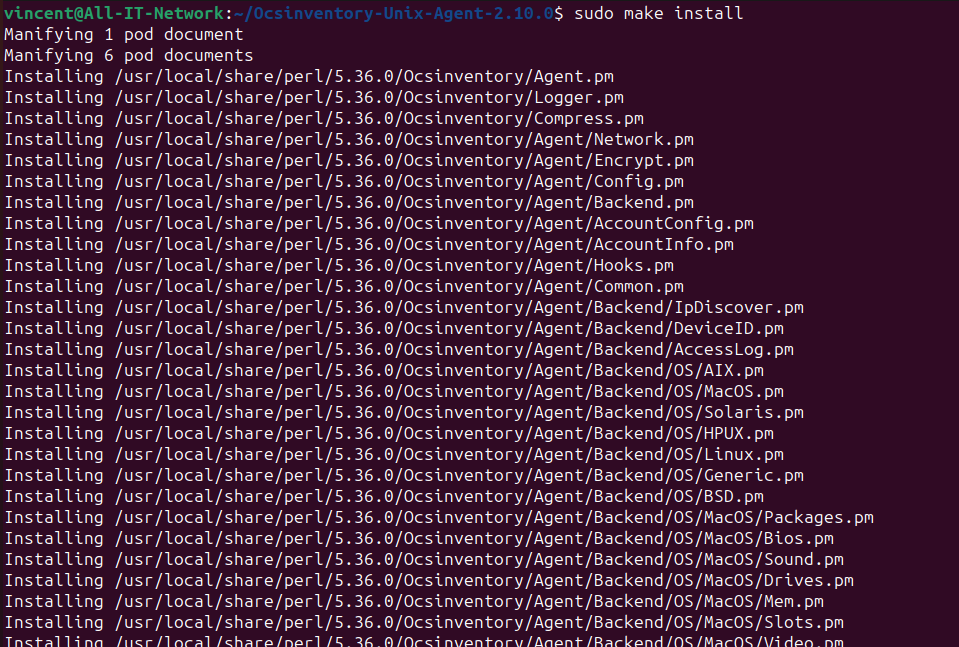
sudo make install
A partir d’ici vous allez devoir répondre à un ensemble de question pour configurer l’agent OCS inventory, vous verrez ci-dessous les réponses que j’ai donné pour une installation basique. Veillez à personnaliser en fonction de vos besoins 😉 :
Do you want to configure the agent?
Please enter 'y' or 'n'?> [y] y

Where do you want to write the configuration file?
0 -> /etc/ocsinventory
1 -> /usr/local/etc/ocsinventory
2 -> /etc/ocsinventory-agent
?> 0

Do you want to create the directory /etc/ocsinventory?
Please enter 'y' or 'n'?> [y] y

Should the old unix_agent settings be imported?
Please enter 'y' or 'n'?> [y] y

[info] The config file will be written in /etc/ocsinventory/ocsinventory-agent.cfg,
What is the address of your ocs server?> 10.1.1.1

Do you need credential for the server? (You probably don't)
Please enter 'y' or 'n'?> [n] n

Do you want to apply an administrative tag on this machine?
Please enter 'y' or 'n'?> [y] y

tag?> MONUBUNTU

Do yo want to install the cron task in /etc/cron.d?
Please enter 'y' or 'n'?> [y] y

Where do you want the agent to store its files? (You probably don't need to change it)?> [/var/lib/ocsinventory-agent]

Should I remove the old unix_agent?
Please enter 'y' or 'n'?> [n]

Do you want to activate debug configuration option?
Please enter 'y' or 'n'?> [y]

Do you want to use OCS Inventory NG UNix Unified agent log file?
Please enter 'y' or 'n'?> [y]

Specify log file path you want to use?> /var/log/ocs-agent.log

Do you want disable SSL CA verification configuration option (not recommended)?
Please enter 'y' or 'n'?> [n] y

Do you want to set CA certificates file path?
Please enter 'y' or 'n'?> [y] n

Do you want disable software inventory?
Please enter 'y' or 'n'?> [n]

Do you want to use OCS-Inventory software deployment feature?
Please enter 'y' or 'n'?> [y]

Do you want to use OCS-Inventory SNMP scans feature?
Please enter 'y' or 'n'?> [y]

Do you want to send an inventory of this machine?
Please enter 'y' or 'n'?> [y]

Setting OCS Inventory NG server address…
Looking for OCS Invetory NG Unix Unified agent installation…
ocsinventory agent presents: /usr/local/bin/ocsinventory-agent
Setting crontab…
Creating /etc/ocsinventory directory…
Writing OCS Inventory NG Unix Unified agent configuration
Creating /var/lib/ocsinventory-agent/http:__10.1.1.1_ocsinventory directory…
Creating /var/lib/ocsinventory-agent/http:__10.1.1.1_ocsinventory/snmp directory…
Copying SNMP MIBs XML files…
Activating modules if needed…
Launching OCS Inventory NG Unix Unified agent…
Et voilà, à partir d’ici votre machine a du remonté dans la base de donnée de OCS inventory !
Si l’article vous a plu et si vous aimez mon travail, vous pouvez faire un don en suivant ce lien :